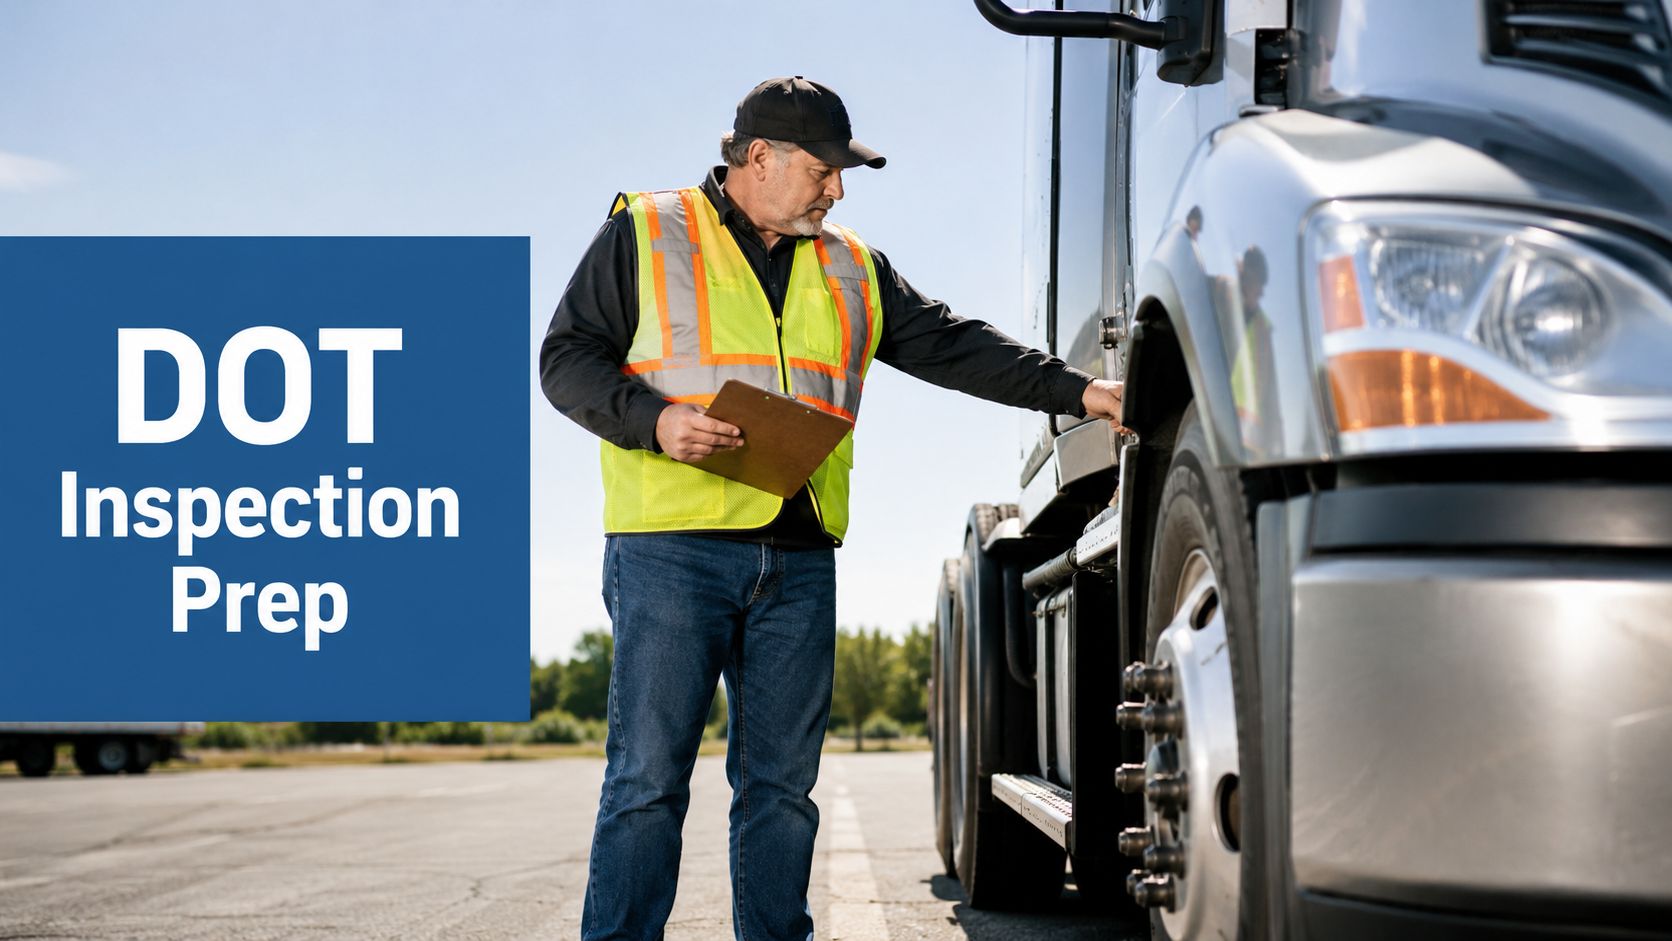
Level 1 DOT inspection preparation starts before the roadside stop, because the hardest failures are usually the ones you could’ve caught in the yard. If you manage a fleet, you already know the bad day isn’t the inspection itself, it’s the truck that’s clean on the outside but missing a log entry, a worn brake component, or a document the driver can’t find fast enough.
That’s the part most operations get wrong. They treat a Level 1 stop like a random event instead of a repeatable workflow, then scramble when the inspector is already at the cab. The better approach is simple, keep your daily pre-trip, your ELD review, and your maintenance follow-up tied together so the next inspection feels routine instead of reactive.
A Level 1 DOT inspection is a driver-and-vehicle event, so this article stays grounded in what happens on the road and what holds up under enforcement. You’ll see how the 37-step process works, where most failures come from, and how to build a system that makes preparation part of the day, not a last-minute fire drill.
What a Level 1 DOT Inspection Actually Involves
You know the moment the patrol unit eases in behind the tractor and the stop turns from ordinary to official. That’s when the roadside clock starts, and it’s why a Level 1 inspection has to be handled like a standard operating procedure, not a surprise.
A Level 1 DOT inspection is the most thorough roadside inspection in the North American Standard program. It runs through a 37-step process, covers both the driver and the vehicle, and typically takes 45 to 60 minutes to complete, with 2024 inspection data showing it made up 32.2% of all DOT inspections, second only to Level 2 at 34.9%. That volume matters because this isn’t a rare enforcement event, it’s a common one, and fleets that pass consistently usually treat daily readiness as essential. DOT inspection types guide

What the inspector is really doing
The stop begins with the driver, then moves into a full exterior and under-vehicle examination, then into brake-system verification, and finally into the report. That sequence matters because it shows why a quick document check won’t save a truck with obvious mechanical problems, and a clean truck won’t save a driver who can’t produce required records. The North American Standard procedure also expects a safe setup, a paved level area away from traffic, wheel chocks on the driver’s side, engine off, and cooperative behavior from the driver. Inspection procedure PDF
That’s where your operational discipline shows up. A clean cab, easy-to-reach paperwork, and a calm driver don’t guarantee a pass, but they remove friction at the exact points where inspectors are trained to look for trouble.
If you already use a structured workflow for other compliance work, the same mindset applies here, and a separate process for level-by-level preparation, like the one built into My Safety Manager’s Level 2 DOT inspection resources, helps keep the whole inspection chain consistent.
Practical rule: if the driver can’t produce the right paperwork quickly and the truck can’t survive a real walkaround, the fleet isn’t inspection-ready yet.
For extra situational awareness, some fleets also rely on Private investigator services when they’re dealing with employment verification or document integrity concerns outside the roadside stop itself. That’s a different use case, but the core idea is the same, you want facts organized before someone else starts asking questions.
Driver Documents You Must Have Ready
The paperwork side of Level 1 DOT inspection preparation is where a lot of otherwise solid fleets lose time. The vehicle might be fine, but if the driver fumbles for credentials or the record isn’t current, the stop gets harder immediately.
The documents that matter first
Inspectors can ask for the CDL, medical certificate, registration, insurance, and HOS or ELD records, plus permits or skill performance evaluation documents when they apply. The driver portion can also include verification of the CDL, logs, and medical and skill performance evaluation documents, so this isn’t optional filing cabinet stuff, it’s core inspection material. Everything you need to know about DOT inspection levels
The practical rule is simple. Keep every required item current, visible, and reachable without digging through the cab.
- CDL: Make sure it’s valid and matches the class of vehicle being operated.
- Medical certificate: Keep it current, because the inspector will look at validity, not intent.
- Registration: Keep tractor and trailer paperwork aligned with the unit being inspected.
- Insurance: Keep proof accessible in the cab, not buried in an office folder.
- HOS logs or ELD records: Make sure they’re up to date and easy to show when asked.
A missing or expired document can stop the inspection before the vehicle is fully examined. That’s why the right habit isn’t just storing paperwork, it’s arranging it so the driver can hand it over in under a minute.
How to make the cab inspection-ready
Put the records in one dedicated spot and train every driver to use the same setup every day. The goal is speed, but speed only works if the files are accurate first. Inspection guidance repeatedly stresses that current, accessible credentials and logs reduce delays and show the inspector that your process is organized before the stop begins. Inspection procedure PDF
If your team struggles with qualification-file housekeeping, a document workflow like My Safety Manager’s driver qualification file resource can fit into that system as one more place where records stay organized.
Keep the cab tidy, but keep the paperwork faster to access than the flashlight in the door pocket.
Walking the Vehicle the Way an Inspector Does
A clean Level 1 usually starts before the truck ever hits the road. The drivers who pass most often are the ones who walk the unit the same way an inspector will, in the same order, with the same attention to detail, every single day.
Start at the front and move the same direction every time. Lights come first because a dead lamp is easy to catch and easy to correct, then the walk continues into tires, wheels, rims, coupling devices, brake hoses, chambers, suspension, exhaust, and cargo securement. That order matters because the defects inspectors find most often are usually hiding in the same places your daily pre-trip should already be covering. A practical commercial vehicle inspection checklist helps keep that sequence consistent across drivers and units.
Front to rear, same order every time
Use one physical pattern on every truck and trailer. Consistency beats style here.
- Lights and reflectors: Check function, lens condition, and visibility before you leave.
- Tires and wheels: Watch for cuts, bulges, uneven wear, missing parts, or anything that looks off.
- Coupling devices: Confirm the fifth wheel, kingpin area, and connections are seated correctly.
- Brake components: Look at hoses, chambers, and obvious wear before the stop forces a closer look.
- Suspension and exhaust: Scan for damage, leaks, or loose parts.
- Cargo securement: Verify tie-downs, doors, and any load-specific securement points.
Brake and tire thresholds are where the standard gets very specific. Steer tires need at least 4/32 inch of tread depth, and other tires need at least 2/32 inch. For air-brake readiness, one field checklist recommends confirming air pressure builds from 85 to 100 psi within 45 seconds, while a North American Standard walkthrough notes the vehicle should be parked with air pressure in the 90 to 100 psi range before the inspection begins. Surviving a Level 1 DOT inspection
The route matters because brake, tire, and light defects are the kinds of findings that turn into out-of-service trouble fast. A good pre-trip catches wear before the inspector does, and it does that by treating the walkaround as a repeatable system, not a one-off look.
I have seen fleets lose a clean inspection because one hose was cracked, one lamp was dark, or one tire was below threshold. I have also seen teams pass because they treated the walkaround like a technical check with a fixed sequence, then used the same habit in their post-inspection follow-up. That is where a driver review, a repair record, and the next pre-trip all connect, which is why some fleets also keep a second reference point to browse CarMax assessor roles when they train people to spot defects with the same eye for condition and documentation.
The Violations That Put Vehicles Out of Service Most Often
An inspection lane does not reward general effort. It rewards the carriers that know which defects most often trigger an out-of-service call and build their prep around those failure points.
During the 2025 International Roadcheck, inspectors conducted more than 56,000 motor vehicle inspections in North America and placed more than 10,000 vehicles out of service on the spot. Brake-related violations made up 41% of vehicle out-of-service orders, tires were the second most common vehicle violation, and hours-of-service violations accounted for 32.4% of driver out-of-service orders. Other 2025-oriented summaries reported a 22.6% vehicle out-of-service rate and a 4.8% driver out-of-service rate during Level 1 inspection activity. Level 1 DOT inspection checklist

What those numbers mean in the yard
Those percentages point directly to the work that matters first. Brake adjustment, leak checks, and component condition belong at the top of every pre-trip because brake issues keep showing up as a leading vehicle-side problem. Tire tread depth and visible damage need the same attention, since tires sit near the top of the list as well.
Driver-side out-of-service calls follow the same logic. If logs are wrong, late, or inaccessible, the driver can be placed out of service even when the truck itself passes. That makes document readiness and ELD accuracy part of the inspection workflow, not an office task that happens later.
The fleets that stay out of trouble do not spread attention evenly across every possible defect. They build the daily routine around the categories that enforcement hits, then keep the same focus in repair follow-up and the next pre-trip. That is how a walkaround turns into a repeatable compliance process instead of a one-off check.
Bottom line: your prep time belongs where enforcement is concentrated, brakes, tires, lights, and log accuracy.
A generic “truck looks good” process will not hold up when the inspector starts finding pattern failures. The evidence points to specific failure points, and your checklist should mirror that reality, with each defect tied back to the inspection result and the repair that fixed it.
For a broader defect reference, My Safety Manager’s DOT out-of-service violations guide can help you compare your maintenance follow-up against the violations that keep showing up in roadside enforcement.
ELD Readiness Is the New Compliance Battleground
A lot of fleets still treat the hard part as keeping a paper file current. That thinking is behind the curve. The test is whether your ELD can show the right data right away, without delays, confusion, or missing entries.
Why the device matters as much as the log
Inspection readiness in the ELD era depends on data integrity and device uptime. Drivers should be able to display the current day in the ELD, pull up supporting documents, and show the history of edits without delay. If the device won’t sync, the duty status is wrong, or edits are unresolved, the inspector sees a compliance problem. Level 1 DOT inspection
That shift catches a lot of carriers off guard. They spend time on the obvious vehicle checks and assume the log side will sort itself out later, but roadside enforcement treats record quality as a live issue.
What good ELD prep looks like
Before every shift, the driver should confirm the device is charged, logged in, and transmitting. That sounds basic, but it is where a lot of roadside friction starts. If the current day will not display cleanly or the record trail looks incomplete, the stop gets longer and the explanation gets weaker.
A weak device is not a software nuisance, it is a roadside problem. A dead battery or stalled app can slow the inspection, create questions about record accuracy, and make the driver look unprepared even when the truck itself is in good shape.
Use a review habit that catches problems before the inspector does:
- Check current status: Make sure the driver’s duty status is correct before departure.
- Confirm document access: Supporting records should open quickly, not after several menu clicks.
- Review edits: Unresolved entries and missing annotations need attention before the truck rolls.
- Verify uptime: A dead battery or stalled app is a compliance risk.
A clean pre-trip does not help much if the ELD cannot tell the same story the truck does.
If your compliance process still treats logs like a static paperwork item, the weak point is already showing. A workflow that reviews ELD data daily catches errors early, and it keeps the driver from discovering a bad entry at the roadside. For fleets building that kind of workflow, My Safety Manager’s ELD data transfer roadside inspection resource fits naturally into the broader record-review process.
What Happens When the Inspector Approaches the Cab
The stop usually starts before anyone says much. The inspector approaches, watches how the driver responds, and looks for the little signs that tell them whether the driver is alert, cooperative, and in control of the unit.
The first few minutes matter
The driver should stay calm, keep the seat belt on until instructed otherwise, and present the requested documents without fishing around the cab. The inspector may check for signs of fatigue or impairment, verify the seat belt, and review the driver’s records before moving outside. Inspection procedure PDF
The cab itself should already be tidy. The driver should know exactly where the fire extinguisher, warning triangles, and required fuses or permits are stored, because fumbling for emergency gear creates avoidable tension. Don’t open the hood or start moving around the truck unless the inspector asks.
The choreography outside the truck
Once documents are handled, the inspector typically moves toward the front of the vehicle and then into the walkaround. That’s when lights are checked, then the under-vehicle exam begins, followed by brake-system verification. If the inspector sees a worn triangle, a dead lamp, or a missing fuse, the stop can shift from routine to enforcement fast.
| Inspection Stage | What the Inspector Checks | Driver Action |
|---|---|---|
| Initial approach | Seat belt use, alertness, overall condition | Stay calm, hands visible, wait for directions |
| Document review | CDL, medical certificate, HOS or ELD records, permits | Hand over records quickly and clearly |
| Exterior check | Lights, tires, visible defects | Remain available, answer questions only when asked |
| Under-vehicle review | Brakes, hoses, chambers, suspension, coupling | Stay patient, don’t interfere with the inspection |
| Final findings | Violations, pass, or out-of-service status | Listen carefully and note next steps |
The inspector's report is the last step, not the first. If the driver stays organized and the truck is already in good shape, the stop usually feels controlled even when it's thorough.
After the Inspection Ends and What Comes Next
The stop isn't over when the inspector walks away. What you do with the report, the maintenance findings, and the driver follow-up determines whether the next inspection gets easier or whether the same defect comes back again.
Reading the report the right way
All findings are entered into the DVER, or Driver Vehicle Examination Report. A clean result still matters because it becomes part of the safety record, and any violation can affect the carrier's compliance profile. A passed inspection may also lead to a CVSA inspection decal that's valid for up to three consecutive months. Level 1 DOT inspection checklist
If the vehicle is placed out of service, it stops until the cited issues are corrected. If the driver is placed out of service, that driver can't continue operating until the issue is resolved and the inspector's restriction is lifted. The right response is to document the defect, fix it, and feed that information back into maintenance and qualification review immediately.
Turning one inspection into a better system
A compliance platform earns its keep by keeping inspection results alongside driver qualification files, maintenance records, and follow-up notes so nothing gets lost in an email chain or a paper folder. A dashboard that ties those pieces together makes the next inspection easier because it reduces duplicate searching and lets your team see patterns instead of isolated events.
My Safety Manager is one option in that space. It provides DOT compliance support, driver qualification tracking, CSA monitoring, and vehicle maintenance oversight in one online system, which helps keep inspection records connected to the rest of the fleet compliance process. That matters because the inspection itself is only one moment, the gain comes from using the result to tighten the workflow behind it.
FAQ
How long does a Level 1 DOT inspection take?
Usually 45 to 60 minutes, depending on vehicle condition and whether defects are found. DOT inspection types guide
Can a driver refuse a Level 1 inspection?
No, not in practice. If the vehicle is stopped for inspection, the driver needs to cooperate and follow the inspector's directions.
What documents does the inspector ask for first?
The inspector usually starts with the CDL, medical certificate, and HOS or ELD records, then checks registration and other required paperwork.
What happens if the vehicle is placed out of service?
It stays parked until the cited safety issues are corrected and the vehicle is cleared to move again.
Does a Level 1 inspection affect CSA scores?
Yes. Inspection findings are entered into the safety record system and can affect the carrier's compliance profile.
What's the most common vehicle problem at a Level 1 stop?
Brake-related violations are the biggest out-of-service driver on the vehicle side, followed by tire-related issues. Level 1 DOT inspection checklist
What's the biggest driver-side risk?
Hours-of-service problems and log issues are the most common driver out-of-service triggers in the data cited above.
What should you review before every shift?
Documents, ELD status, brake condition, tire condition, lights, and emergency equipment.
If you want a cleaner way to manage inspection prep, document control, and follow-up in one place, visit My Safety Manager and see how the program supports ongoing DOT compliance for your fleet.
Regulatory References
- 49 CFR Part 392, Driving of Commercial Motor Vehicles. eCFR
- 49 CFR Part 393, Parts and Accessories Necessary for Safe Operation. eCFR
- 49 CFR Part 395, Hours of Service of Drivers. eCFR
- 49 CFR Part 396, Inspection, Repair, and Maintenance. eCFR
If you want Level 1 prep to stop being a scramble, build it into your daily compliance routine with My Safety Manager. It connects driver files, maintenance records, and inspection follow-up so your team isn't rebuilding the same process every time a roadside stop happens. Visit My Safety Manager to see how it can support your DOT compliance workflow.
