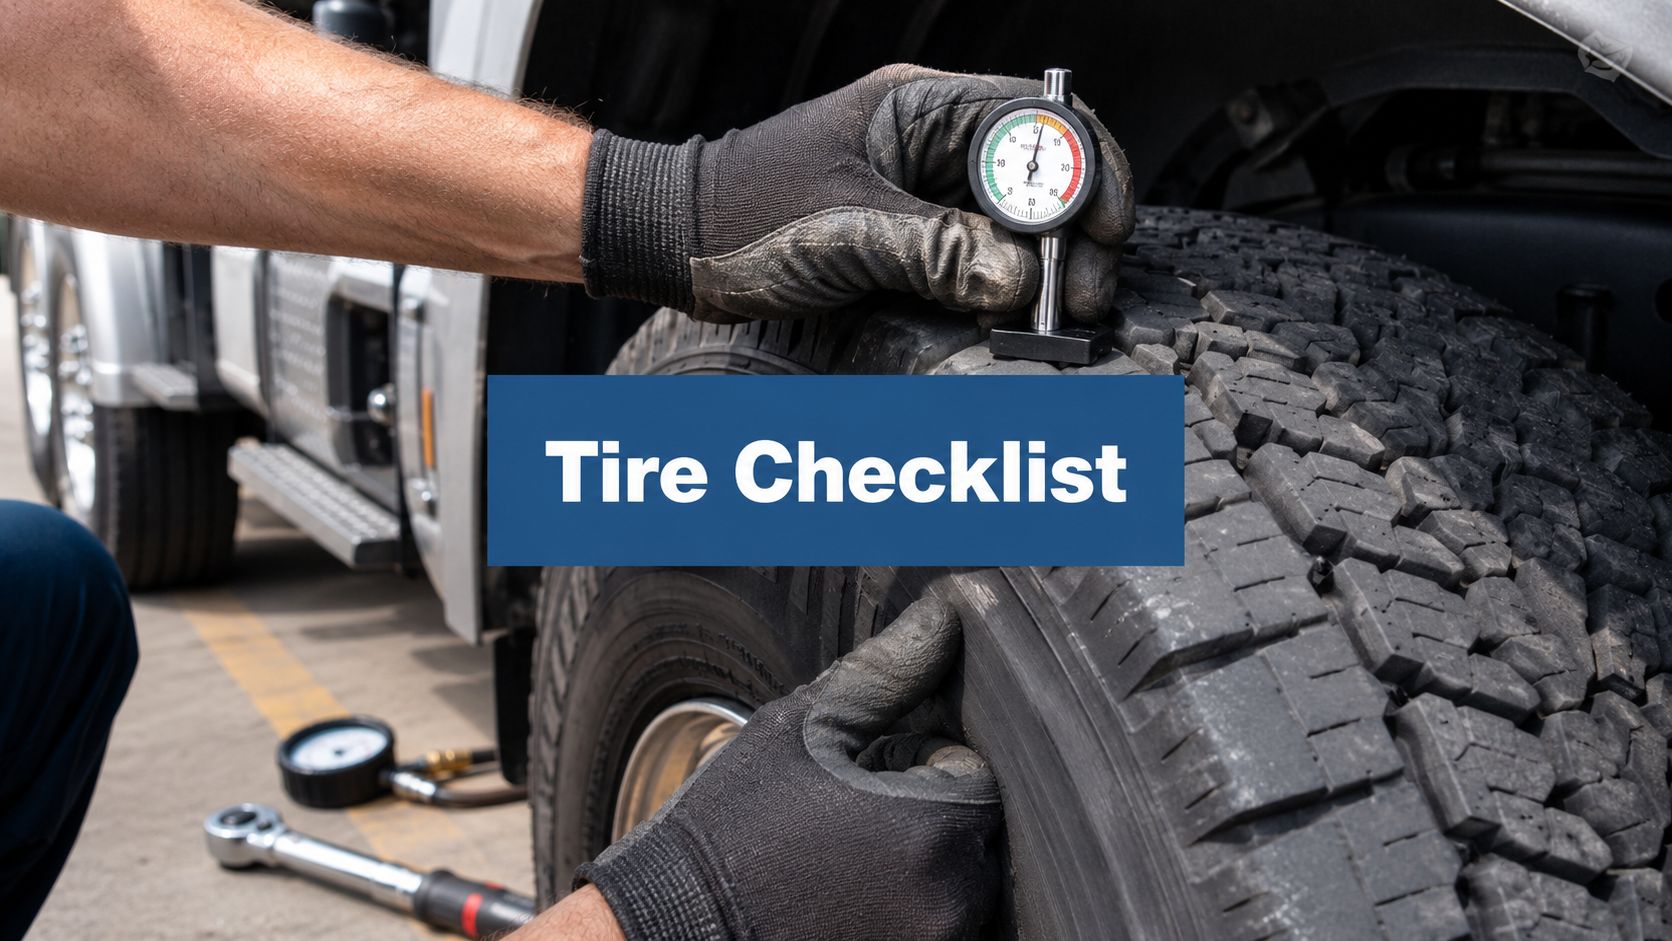
truck tire inspection checklist mistakes usually don't start with a blowout. They start with a rushed walk-around, a missed gauge reading, or a team that treats tires like a driver issue instead of a fleet system issue. If you're a fleet owner or safety manager, that gap shows up fast in roadside inspections, service calls, and trucks sitting where they should be earning.
Most fleets already have some kind of pre-trip routine. The problem is that many inspections drift into habit. Someone glances at tread, kicks a tire, and moves on. That approach misses the exact problems that trigger downtime, compliance exposure, and avoidable repair costs.
You need a process that turns tire checks into repeatable, documented maintenance control. That's what this guide gives you. Use it to tighten your inspection standards, train your team, and build a truck tire inspection checklist that helps you protect safety, cost control, and uptime.
1. Tread Depth Measurement and Health
A tire can look serviceable from five feet away and still put you in violation. That's why tread depth belongs at the top of your truck tire inspection checklist.
One fleet-safety guide notes that tire inspection problems account for 21% of out-of-service orders. That same guidance points to the tread thresholds most fleets already know but don't always measure correctly: 4/32 inch for steer-axle tires and 2/32 inch for drive and trailer axles, measured at the shallowest point with a calibrated gauge rather than a visual guess or thump test.

What You Should Require Every Time
If you want consistency across your fleet, stop allowing subjective calls.
- Use a tread depth gauge: Don't rely on a quick look. Your team should measure, not estimate.
- Check the shallowest point: The lowest reading is the one that matters for safety and enforcement.
- Separate steer from drive and trailer standards: Your checklist should clearly label the steer axle threshold apart from the rest.
- Record the reading: A written or digital log helps you spot decline before it becomes a roadside problem.
A practical example: one of your tractors comes back from a regional route with acceptable-looking steer tires. A proper gauge check shows one shoulder is worn far below the rest of the tread. Without that measurement, the truck gets dispatched again and your next inspection happens on the shoulder with an enforcement officer standing there.
Practical rule: If your checklist says "inspect tread" but doesn't require an actual measurement, it isn't strong enough.
What Tread Really Tells You
Tread depth isn't just a pass or fail item. It's also an early warning sign. If one tire is dropping faster than the others, you've likely got an inflation, alignment, suspension, or loading issue feeding the wear.
That matters because replacing a tire without fixing the cause only resets the clock on the same problem. Your best checklist doesn't just identify low tread. It tells your maintenance team where to investigate next.
2. Tire Pressure and Load Index Verification
How many tire failures in your fleet start long before the truck leaves the yard? More than most managers want to admit. Pressure and load mistakes build heat, wear out casings early, and turn a preventable maintenance issue into a roadside event.
A useful pressure check starts with one rule. Measure tires cold. The TMC Tire Conditions Analysis Guide from ATA explains why inflation readings need to be taken before operation, after the tire has stabilized, so your team is working from a consistent maintenance baseline instead of a heat-inflated number.

Build the Check Around Spec, Load, and Service
Set the standard at the fleet level. Drivers and technicians should verify cold pressure against the vehicle manufacturer's recommendation for the axle position and actual service use. The sidewall maximum is not your everyday target. It is a limit tied to the tire's rated capacity, and using it as a default can lead to poor wear, rough ride, and bad maintenance decisions.
Load index matters just as much as pressure. If a tire is underspecified for the weight and duty cycle, the gauge can show the "right" PSI and the tire can still run hot and fail early. Your checklist should force a match between the tire installed, the load carried, and the job the truck performs.
For compliance reference, keep this guide to DOT tire regulations with your inspection and training documents.
Fleet managers who oversee mixed vehicle classes can use this RV tire pressure guide as a simple reminder that inflation always depends on the tire and vehicle application.
What Your Checklist Should Require
Treat this as a control point, not a casual pre-trip note.
- Record the actual cold PSI: A written number creates accountability and trend history.
- Verify the tire's load rating: Confirm the installed tire matches the axle and service requirement.
- Use the manufacturer's inflation target: Do not substitute the sidewall number.
- Flag recurring pressure loss: Repeated air loss means inspection and repair, not another top-off.
- Escalate mismatches immediately: Wrong tire spec, wrong load index, or chronic underinflation should stop dispatch until maintenance clears it.
Here is the fleet-management reason to be strict. A drive tire that shows up low three mornings in a row is not a driver inconvenience. It is a maintenance defect, a casing-cost problem, and a scheduling risk. Good checklists catch that pattern early, so safety managers can act before the truck becomes a service call and a missed delivery.
Pressure control protects more than the tire. It protects your casing program, your CSA exposure, and your operating margin.
3. Sidewall Damage and Condition Assessment
Sidewall damage deserves a hard line. If the sidewall is compromised, you don't keep negotiating with it.
Your inspection standard should tell your team to look for cuts, bulges, cracking, abrasions, puncture damage, and any sign that the casing structure has been stressed. This is one area where a fast visual can work, but only if your people know what they're looking at and don't downplay what they find.
What Gets Missed in a Busy Yard
Sidewalls often get damaged in places your team stops noticing. Tight docks. Yard curbs. Debris at customer sites. Contact with equipment. A driver can finish a route with no complaint about handling, and the tire can still be one trip away from failure.
Use this as a coaching point with supervisors. A sidewall defect isn't the kind of issue you "watch for another day." If it's visible now, it belongs in the repair decision now.
- Cuts and exposed material: Pull the tire out of service for evaluation.
- Bulges or blisters: Treat them as structural warning signs.
- Weather cracking: Review age, storage, and service conditions.
- Impact bruising: Check the wheel and surrounding components too.
A practical example: one trailer tire brushes a loading area curb hard enough to bruise the sidewall. Tread still looks decent, pressure still holds, and the trailer keeps moving. Then the casing gives up under heat and load, and now you're dealing with a road call, schedule disruption, and a preventable incident.
If you want your team to understand the stakes, connect this item to your broader DOT out-of-service violations list. Tire condition isn't a cosmetic issue. It's one of the fastest ways to turn a routine stop into a shutdown.
Train for Clear Escalation
The checklist should answer one simple question for your team. Can this truck leave, or does maintenance need to see it first?
That means your form should include a note field and a photo requirement if you're using a digital inspection app. Sidewall decisions are easier when your maintenance lead can see the damage, not just read "looks bad" in a comment box.
4. Wheel, Rim, and Lug Nut Integrity
A solid tire inspection doesn't stop at rubber. You also need to inspect what holds the assembly together.
Many checklists fall short by covering pressure and tread yet barely mentioning the wheel end. That's a mistake. Practical commercial inspection guidance highlights the need to check between duals for lodged debris, and to look for loose lug nuts, shiny rub marks, or hub oil leaks because those signs can point to bigger wheel-end failure risk, not just tire wear, as shown in this commercial truck inspection guidance video.
What a Good Wheel-End Check Looks Like
You want your team to slow down and look for clues.
- Loose or missing lug nuts: Escalate immediately.
- Shiny metal around hardware: That can signal movement where there shouldn't be any.
- Cracked or bent rims: Pull the unit for repair review.
- Hub oil leaks: Treat them as a wheel-end warning, not a housekeeping issue.
- Debris between duals: Remove it before it becomes road hazard damage.
A real-world scenario: one of your trailers keeps showing odd wear on an outer dual. The tread issue grabs attention, but the underlying problem is movement at the wheel end. If your inspection process only says "check tire condition," your team may miss the hardware clues that would have pointed them to the root cause.
Don't Separate Tire Safety From Roadcheck Readiness
Roadside inspectors won't separate them either. Tire condition and wheel security are judged together in practice because they create the same operational outcome. The truck moves safely, or it doesn't.
If you're training your staff ahead of enforcement pushes, include this International Roadcheck resource in your prep. It helps reinforce that roadside readiness starts in your yard, especially around the wheel ends where small warning signs often show up first.
The best tire inspection programs catch wheel-end problems before the tire gets blamed for them.
5. Wear Pattern Analysis
Uneven wear is one of the clearest early warnings on a truck. Treat it like a fleet management signal, not a cosmetic tire issue.
A driver may spot the problem first, but the value comes from what your maintenance and safety teams do next. Wear patterns show whether your pressure program is slipping, an alignment is off, a suspension component is wearing out, or a route is creating a repeat loading problem. If your checklist only asks whether the tire looks worn, you lose the reason behind the wear and the chance to stop repeat cost.
Read the Pattern and Log It
Your checklist should require the inspector to name the wear pattern, note its location, and record tread readings across the tire. Three-point tread measurements help your team catch uneven wear early and compare one inspection to the next. That turns a routine walk-around into a useful maintenance record, especially when paired with your DOT pre-trip inspection process.
The Technology and Maintenance Council's guidance on radial truck tire conditions analysis is worth using in training. It gives technicians and safety managers a shared reference for diagnosing wear patterns instead of relying on guesswork.
One steer tire with heavy wear on a single shoulder should trigger more than a note that the tread is still legal. That pattern usually points to a correctable mechanical issue. If you miss it, the replacement tire often wears the same way and the truck comes back with the same problem.
Build a Clear Escalation Rule
Use simple categories your team can act on fast:
- Even wear: Keep the unit in service and continue trend tracking.
- Shoulder wear: Inspect alignment, suspension parts, and loading habits.
- Center wear: Review inflation practices and pressure verification.
- Feathering: Check toe settings and steering alignment.
- Cupping or scalloping: Inspect shocks, wheel balance, and related components.
- Different wear across the same axle: Look for axle-specific mechanical issues or uneven load distribution.
Safety, maintenance, and cost control converge. A good wear analysis process helps prevent roadside violations, extends casing life, and reduces the number of tires you replace before you should.
6. Valve Stem and Cap Inspection
Valve stems are small, but they can undermine your pressure program if you don't inspect them on purpose.
A cracked stem, loose core, damaged extension, or missing cap can create a slow leak that keeps showing up as "another low tire" on morning checks. If your team doesn't inspect the valve assembly itself, they may keep adding air without fixing the source of the problem.
Add Valve Checks to Every Walk-Around
This doesn't need to take long. It does need to be consistent.
- Look for cracking or dry deterioration: Especially on older assemblies.
- Check for damage from contact or vibration: Extensions and angled stems can get hit.
- Inspect for leaks at the valve area: Use your normal shop verification process when a tire repeatedly loses air.
- Confirm the cap is present: The cap helps keep dirt and moisture out.
One real fleet problem shows up on dual assemblies. A hard-to-reach inner valve gets ignored because it's inconvenient. Pressure checks become less reliable, leaks go unconfirmed, and the tire spends too much of its life underinflated. That's not a driver attitude problem. It's a checklist design problem.
Treat Repeat Air Loss as a Maintenance Event
Don't let your team normalize top-offs.
If the same tire needs air again and again, your process should require a work order. That's where a broader DOT pre-trip inspection standard helps. It reinforces that pre-trip findings should lead to corrective action, not just another notation.
A missing valve cap won't shut down a fleet by itself. Repeatedly ignoring small air-loss points will.
When you train this item, remind your team that pressure reliability depends on the whole inflation system. The tire, the valve stem, the cap, and the inspection habit all matter together.
7. Tire Age and Deterioration Check
Tread depth alone doesn't tell you whether a tire should stay in service. Age, retread history, recurring repairs, and overall deterioration matter too.
This is one of the most overlooked parts of a truck tire inspection checklist. Teams tend to focus on what's easy to see in the groove and shoulder area, then miss the bigger service-life question. A tire can still meet minimum tread and still be the wrong tire to keep running because the casing is aging, the rubber is deteriorating, or the same pressure problem keeps returning.
Look Beyond the Tread Face
Major tire safety guidance points out a real gap in many inspection programs. Fleets often need a better way to decide how often to inspect based on duty cycle, route type, load, and tire age, and when repeated wear patterns or pressure loss justify removal or deeper maintenance review, as discussed in this tire inspection safety checklist guidance.
That should change how you write your checklist. Add fields for DOT date code, retread status if your operation tracks it, recurring repairs, and visible aging signs such as cracking or hardening. Then force a review when a tire keeps showing up on reports.
A practical example: one trailer tire still has legal tread, but it has repeated slow-leak history, visible weathering, and a casing that's seen hard service for a long time. Keeping it in service because "the tread is fine" ignores the actual risk picture.
Make Age Part of Preventive Maintenance
Your tire checklist shouldn't live by itself. It needs to connect to your shop schedule.
Use your broader preventive maintenance examples to decide when age and condition should trigger rotation, removal, casing review, or a more complete mechanical inspection. That keeps tire decisions tied to the way your equipment operates, not just to a single snapshot during pre-trip.
8. Spare Tire and Emergency Equipment Readiness
If your checklist ignores the spare, it isn't complete. NHTSA says you should check all tires, including the spare, inspect tires monthly with an accurate gauge, and check pressure when tires are cold, which it defines as having been driven on for at least three hours before the reading. NHTSA also says to use the vehicle manufacturer's listed inflation pressure rather than the number on the sidewall, as outlined in its tire safety guidance.
That matters because a spare only helps you if it's serviceable when you need it. Too many fleets treat it like storage equipment instead of an active safety component.
What Readiness Actually Means
A proper spare inspection should confirm condition, inflation, accessibility, and the tools needed to use it. If your operation doesn't rely on spares in every unit, the same logic still applies to your emergency tire response setup. The equipment has to be ready before the event, not after.
- Check the spare's inflation and visible condition
- Inspect the mount or storage location
- Confirm the jack and lug tools are present if your equipment setup requires them
- Make sure emergency procedures are clear for roadside events
Here's the operational side of it. A truck loses a tire on route. The replacement option is available, but the spare is low, the tool kit is incomplete, or nobody verified what was on the unit. Now a manageable event turns into longer downtime and more exposure on the roadside.
Use the Checklist as a Preparedness Tool
This is also where routine inspection saves money. Commercial maintenance guidance notes that a minor repair found during daily inspection can be a $20 fix versus a $1,000 road call, and that guidance also commonly cites rotation intervals of roughly 5,000 to 7,500 miles as part of wear control. Read that as a management lesson. Small tire issues are only small if you catch them early.
A ready spare, a complete emergency setup, and a checklist that requires verification will keep your trucks moving when something goes wrong.
8-Point Truck Tire Inspection Comparison
| Inspection Item | Implementation Complexity | Resource Requirements | Expected Outcomes | Ideal Use Cases | Key Advantages |
|---|---|---|---|---|---|
| 1. Tread Depth Measurement and Health | Low, straightforward measurement | Tread depth gauge or penny, basic training | Improved traction, compliance, reduced hydroplaning | Rainy/snowy operations, routine safety checks | Safety and regulatory compliance at low cost |
| 2. Tire Pressure and Load Index Verification | Low–Medium, requires cold checks and load matching | Digital pressure gauge, vehicle placard/manual, time | Longer tire life, better fuel economy, fewer blowouts | Long-haul, variable-load vehicles, fuel-sensitive fleets | Cost savings and adherence to DOT specs |
| 3. Sidewall Damage and Condition Assessment | Low, visual/tactile but high consequence | Gloves, good lighting, access to inner sidewalls | Prevent sudden failures and immediate removals from service | High-speed routes, older tires, post-impact inspections | Detects catastrophic risk before failure |
| 4. Wheel, Rim, and Lug Nut Integrity | Medium, torque checks and detailed inspection | Calibrated torque wrench, visual inspection tools | Prevent wheel-off incidents, reduce vibration and uneven wear | Heavy-load fleets, vehicles with frequent stops | Improves reliability and prevents severe incidents |
| 5. Wear Pattern Analysis | Medium, diagnostic interpretation required | Trained inspector, documentation, periodic checks | Early detection of alignment/suspension issues, planned repairs | Preventative maintenance programs, reduce downtime | Root-cause detection that saves long-term costs |
| 6. Valve Stem and Cap Inspection | Low, quick visual and leak checks | Soapy water/test kit, spare caps, basic tools | Fewer slow leaks, maintained tire pressure | Routine pre-trip inspections, cold-weather ops | Inexpensive fixes that prevent under-inflation |
| 7. Tire Age and Deterioration Check | Low–Medium, read DOT codes and assess condition | Inspection records, knowledge of DOT date codes | Avoid age-related failures, scheduled replacements | Older fleets, stored vehicles, safety-focused operations | Reduces long-term risk and potential liability |
| 8. Spare Tire and Emergency Equipment Readiness | Low, inventory and functionality check | Spare tire, jack, lug wrench, basic training | Reduced roadside downtime, safer tire changes | Remote routes, long-haul, single-vehicle operations | Operational readiness and faster recovery |
Take Control of Your Fleet's Tire Safety
Your truck tire inspection checklist should do more than satisfy a pre-trip requirement. It should help you control risk, standardize decisions, and catch maintenance problems before they turn into downtime, violations, or expensive roadside calls. When you build your process around measurable checks, clear escalation rules, and documented follow-up, tire safety stops being a daily guessing game.
The biggest shift is simple. Stop treating tire inspections as a driver-only task. Treat them as a fleet management process. Your dispatch team needs reliable readiness standards. Your maintenance team needs usable inspection data. Your supervisors need a way to verify that the same inspection is happening across every truck, every route, and every shift.
That approach also improves cost control. A tire with uneven wear may point to suspension or alignment trouble. A repeat pressure issue may point to a leaking valve stem or damaged assembly. A legal-looking tire may still need to come out of service because age, deterioration, or repeated issues tell you it's no longer a smart risk. When your checklist captures that information, you stop reacting late.
If you want better results, make your checklist specific. Require cold pressure readings. Require measured tread depth. Require wheel-end observations. Require notes and photos when a defect is found. Require maintenance follow-up when the same tire keeps appearing on reports. That's how you move from "we inspected it" to "we managed it."
This is also where documentation matters. A strong record helps you train more effectively, audit your own process, and prove that your operation takes inspection and maintenance seriously. Digital systems can help with that, especially when you're trying to keep inspection findings, work orders, and compliance records connected in one place. The same thinking behind effective hydraulic maintenance plans applies here too. Preventive work only pays off when the process is documented and followed.
If you're ready to tighten your fleet's inspection habits, build the checklist into your maintenance workflow instead of leaving it as a stand-alone form. My Safety Manager is one option to help centralize compliance documentation, track inspection and maintenance responsibilities, and support safer fleet operations through a connected process.
FAQ
What should a truck tire inspection checklist include?
Your checklist should cover tread depth, cold tire pressure, sidewall condition, wheel and rim condition, lug nuts, valve stems, wear patterns, tire age, dual-tire spacing, and spare tire readiness. It should also include a way to document defects and trigger maintenance follow-up.
How often should you inspect truck tires?
You should inspect them before dispatch as part of your routine vehicle inspection process, and you should also perform scheduled pressure and condition checks at regular intervals. NHTSA recommends checking tires monthly with an accurate gauge and checking pressure when the tires are cold.
What is the minimum legal tread depth for commercial truck tires?
Steer-axle tires need at least 4/32 inch, and drive and trailer axles need at least 2/32 inch, according to the fleet-safety guidance cited earlier.
Should you check truck tire pressure hot or cold?
Check it cold. NHTSA says pressure should be checked when tires are cold, and its guidance defines cold conditions based on time since driving.
Do you need to inspect the spare tire?
Yes. NHTSA says to check all tires, including the spare. A spare that hasn't been inspected can fail when you need it most.
Why are tire checks so important in roadside inspections?
Because tire-related defects are a major enforcement issue. As noted earlier, one fleet-safety guide reports that tire inspection problems account for a significant share of out-of-service orders.
What causes uneven tire wear on semi-trucks?
Common causes include inflation problems, alignment issues, suspension problems, wheel-end issues, and loading imbalance. The wear pattern helps point you toward the likely root cause.
Should your checklist include checks between dual tires?
Yes. Debris trapped between duals can damage tires and create road hazards. Your checklist should also include wheel-end warning signs in that area.
Is a visual tire check enough?
No. A visual check helps identify obvious damage, but your process should also require gauge-based tread and pressure measurements so your inspections are repeatable and defensible.
When should a tire be removed even if tread still looks acceptable?
Remove it for review when age, deterioration, sidewall damage, recurring pressure loss, repeated repairs, or troubling wear patterns show that the tire is no longer a safe or efficient service choice.
Regulatory References
- 49 CFR § 393.75 Tires
- 49 CFR Part 396 Inspection, Repair, and Maintenance
- 49 CFR § 396.11 Driver Vehicle Inspection Report
- 49 CFR Part 392 Driving of Commercial Motor Vehicles
If you want a simpler way to manage tire inspection records, maintenance follow-up, and DOT compliance tasks in one place, take a look at My Safety Manager. It gives you a structured way to support your fleet's safety program without juggling disconnected spreadsheets, paper forms, and missed reminders.
